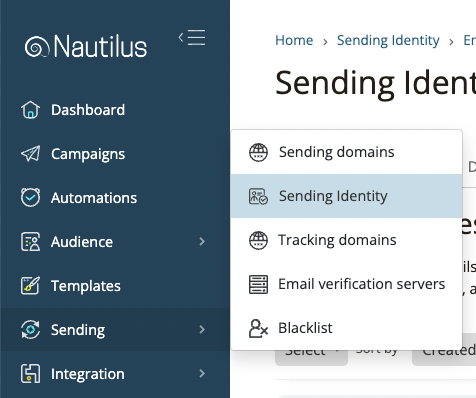
To verify your sending identity choose the “Sending” option from the main menu and then select “Sending identity”.
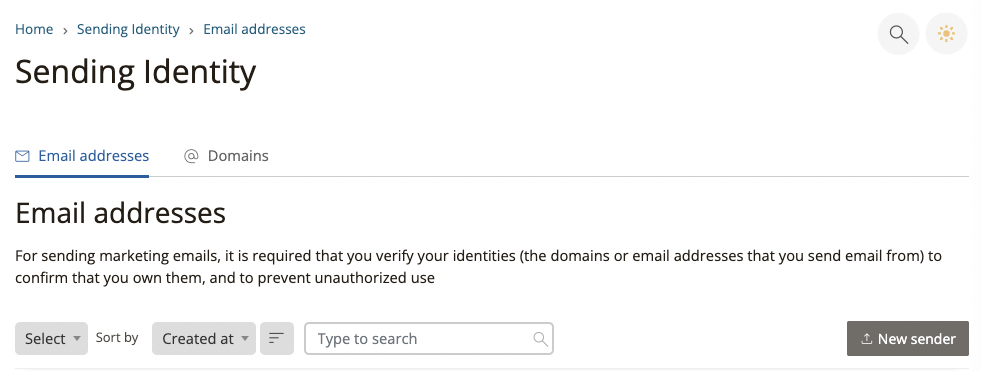
On the Sending Identity page, Make sure you’re on the “Email addresses” tab and click the “New sender” button to add a new sender.
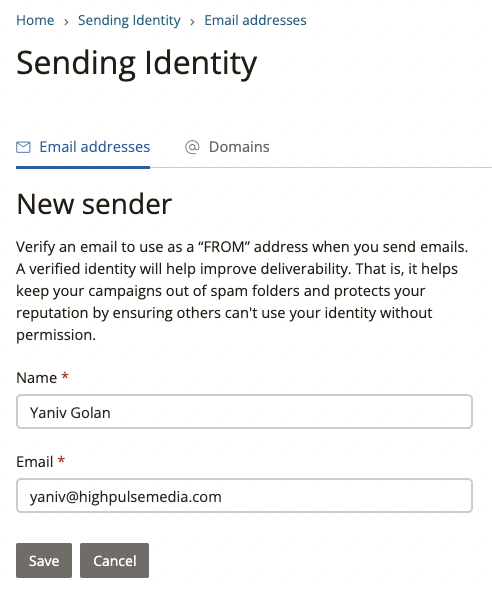
On the “New sender” page enter the name & email address of the identity you wish to send on their behalf and hit the save button.
Once you save the new identity an email verification will be sent to its address and you’ll need to click the link inside this verification email to activate it.
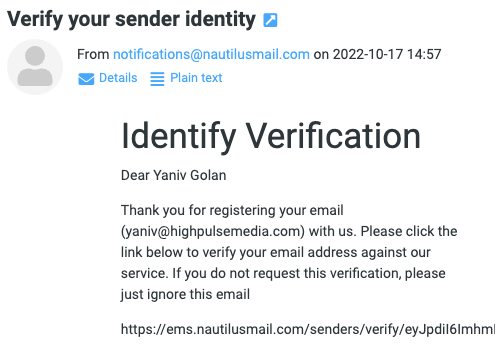
That’s it! The sending identity is now verified and ready to send.