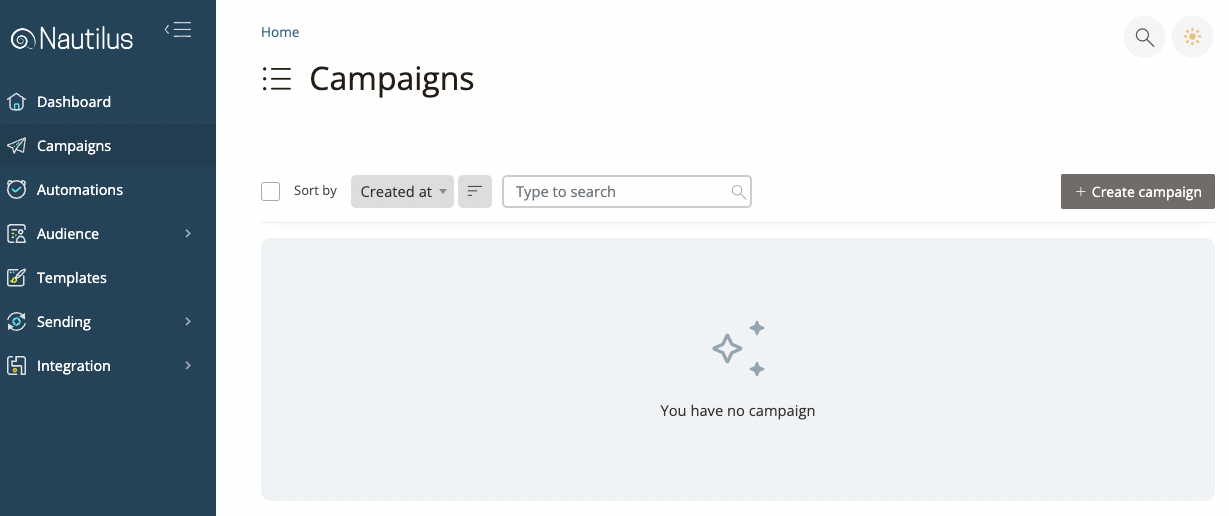
To create and send a broadcast email campaign to any of your audience lists or segments choose the “Campaigns” option on the main menu. Then on the “Campaigns” screen press the “Create campaign” button
You can choose between a regular HTML email and a plain-text version. Generally, Regular HTML emails are common for marketing nowadays and are supported on most devices worldwide, It supports images, styling & link tracking but some devices don’t support these features for better accessibility plain-text will be better but bare in mind it doesn’t support link tracking and images.

Once you choose the campaign type you’ll need to select the recipients of your campaign by selecting the list(s) and/or segment(s) you’d like to send your email campaign to. Choose the desired list from the drop-down list and press the “Save & Next” Button to continue to the next step – The “Setup” tab.
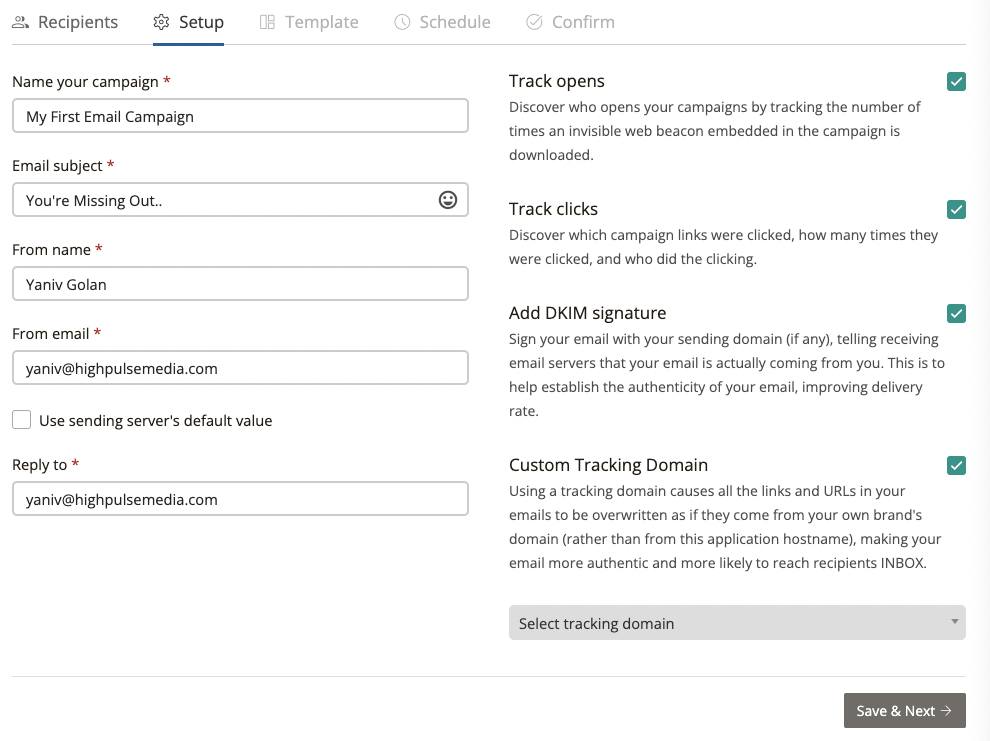
In the “Setup” tab, Choose a recognizable name to describe your campaign (it won’t be visible publicly) so name it however you like.
Then enter the email subject line, the name of the sender and choose the from / reply-to address for this email campaign.
We also recommend to turn on email opens & link clicks tracking so you can analyze the performance of the campaign and measure its impact.
Regardless if you choose to use opens and click tracking or not, it is highly advised to turn on both the “Add DKIM signature” and select a “Custom Tracking Domain”, turning on both of these options is crucial to high email deliverability & successfully reaching your subscribers inbox.
Press the “Save & next” button to create the email content on the next tab and choose between uploading an HTML template you have or using a pre-built template we made for you.
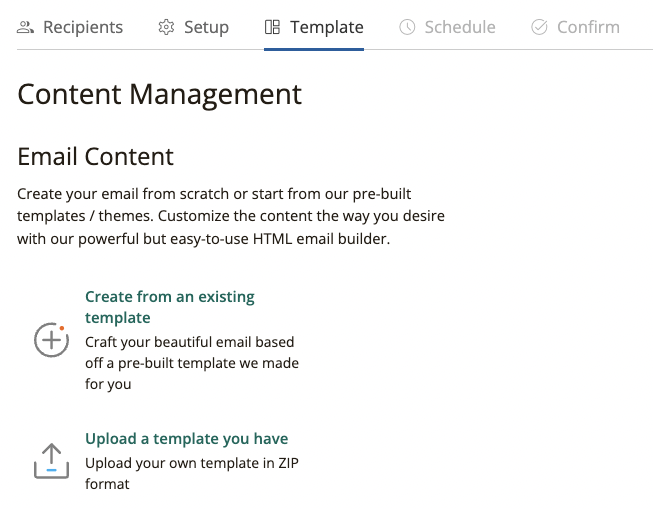
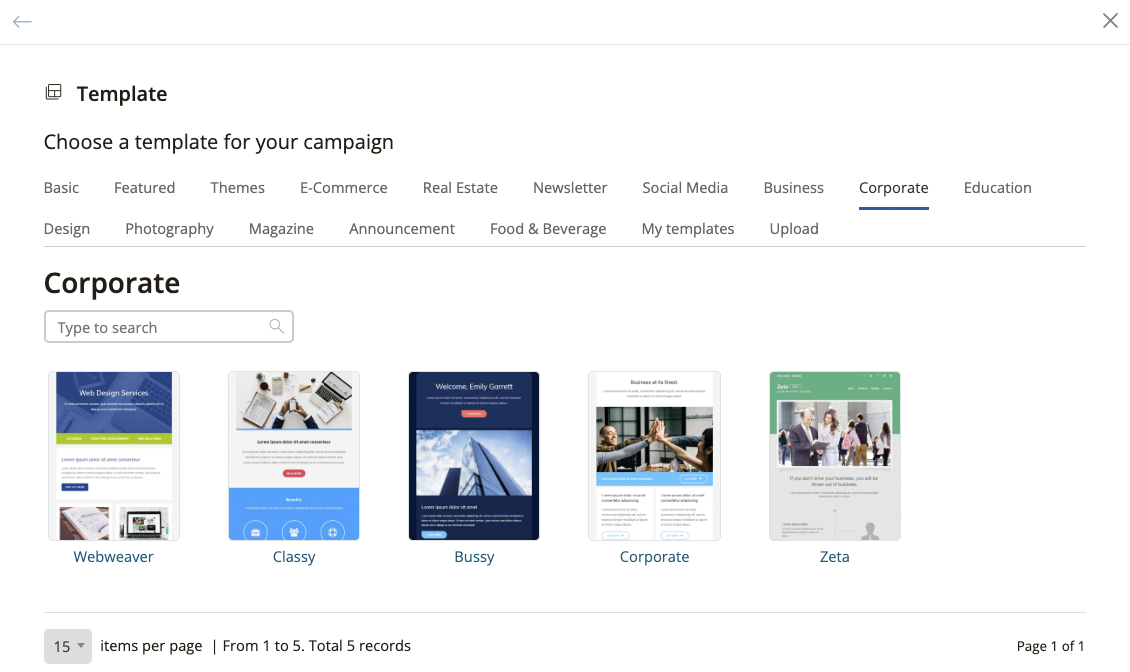
Press the “Create from an existing template” option and choose a template from the provided template library or start from scratch by choosing the “Blank” template from the “Basic” tab.
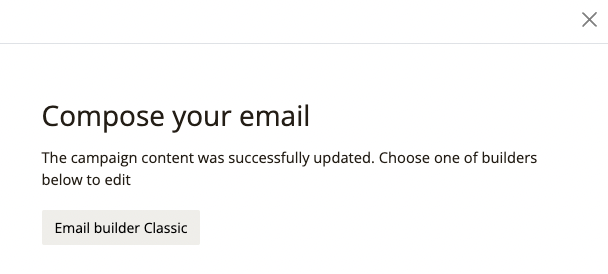
Then press the “Email builder classic” button to start editing the email template.
Use the email builder to customize the template and writing the content of it. You may use the available tags to include information about your subscriber, these tags will be replaced automatically upon sending with the corresponding data from the list.
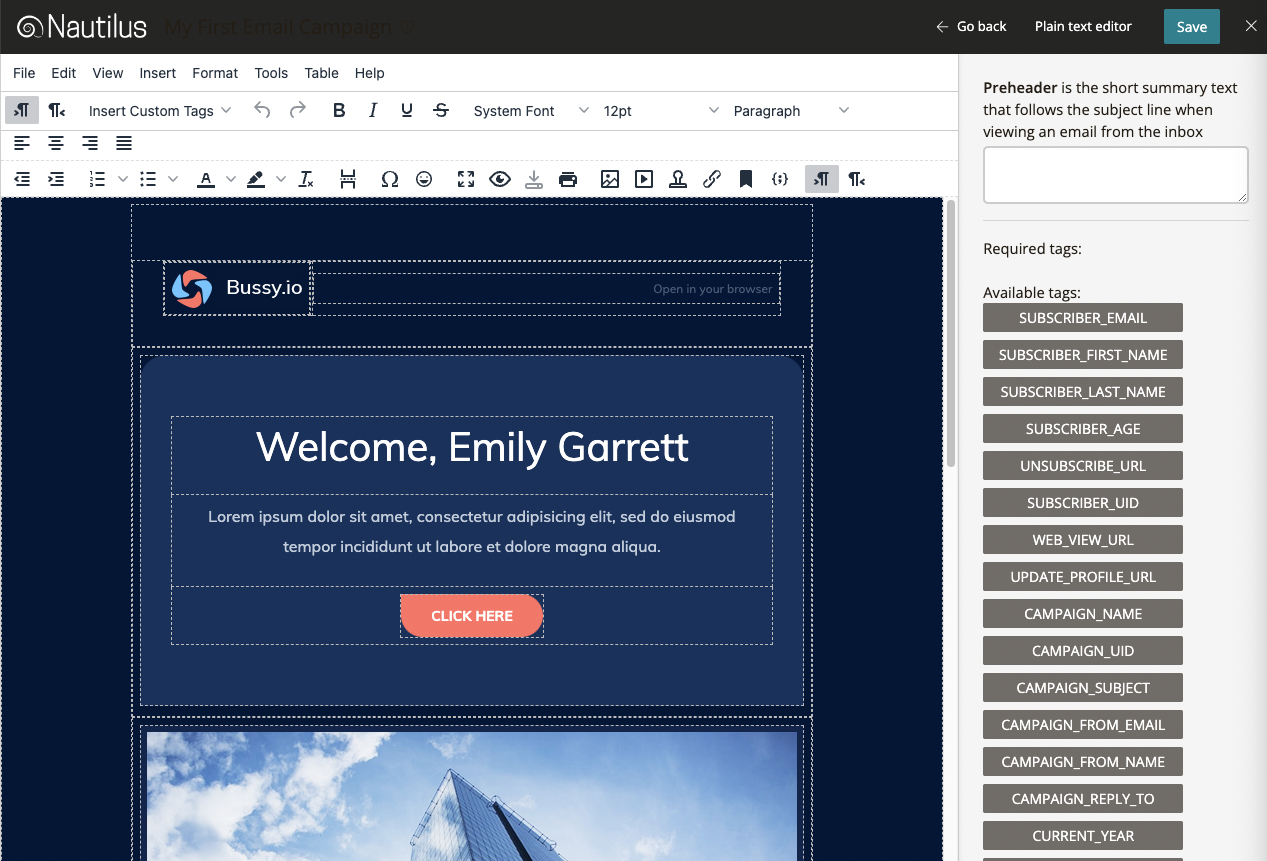
You may also edit the plain-text version of your email by pressing the “Plain text editor” button at the top-right corner of the builder.
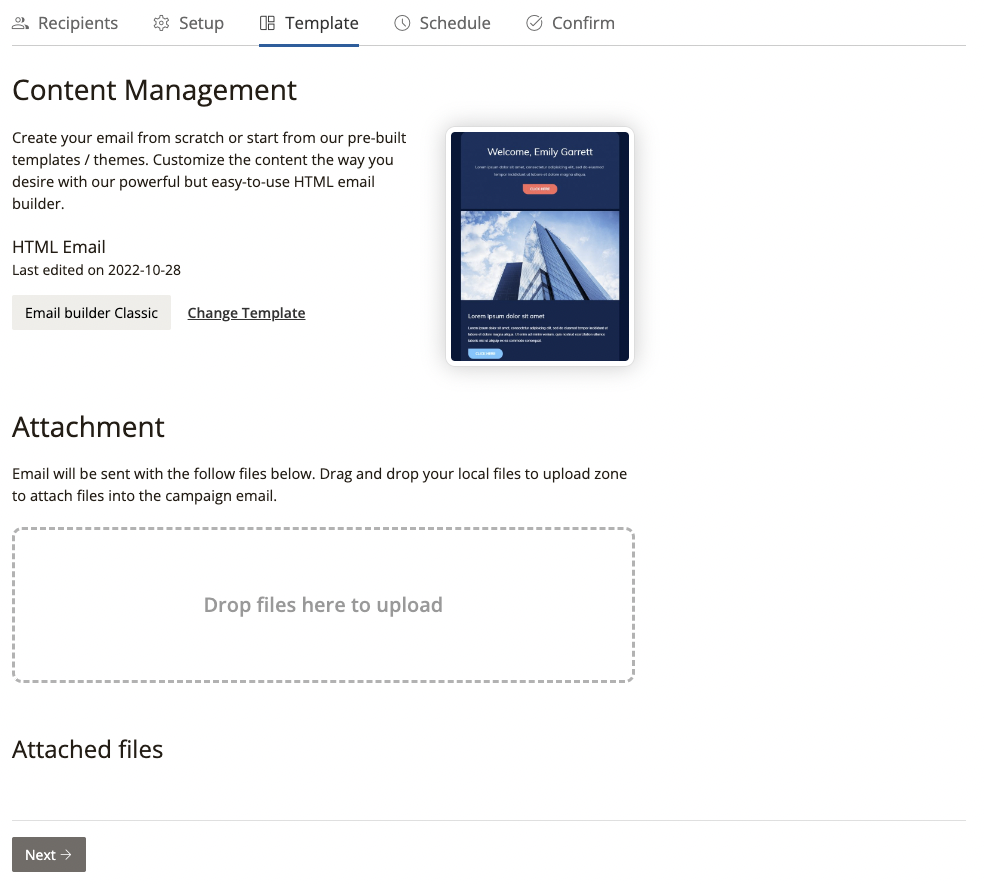
When you’re done editing save and press the “Go back” button to get to the “Template” tab on the “Create campaign” screen.
You may continue editing your email content at any time by pressing the “Email builder classic” button or add an attachment to the email by dragging files to the upload area.
Once you’re satisfied with the email content press the “Next” button to continue to the next step – the “Schedule” tab.
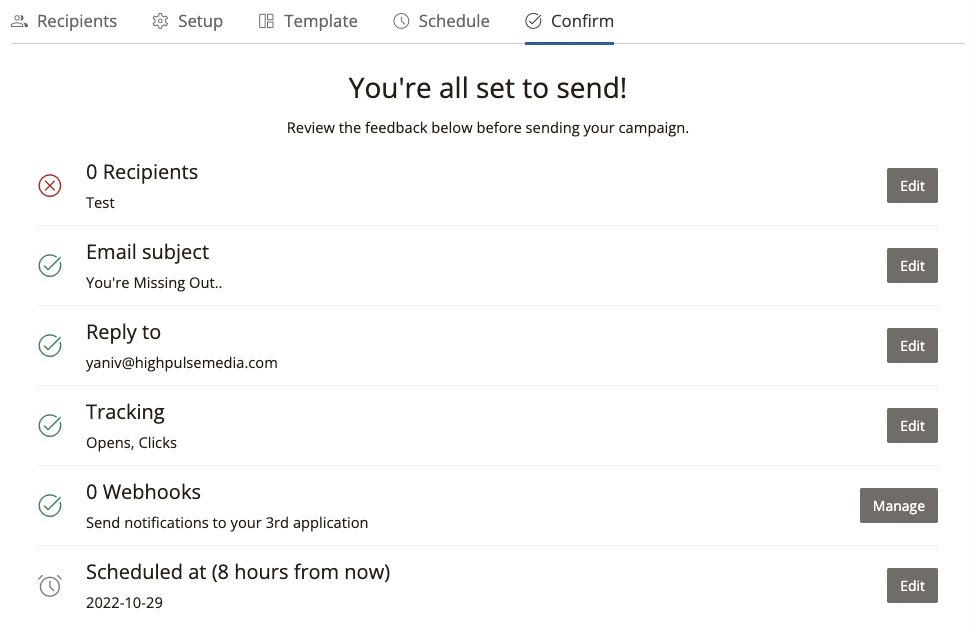
On the “Schedule” tab you may choose between sending the email immediately or scheduling it for a future time, The time you set is in the timezone you selected for your Nautilus account (You can change your account timezone at anytime from your account’s profile page.
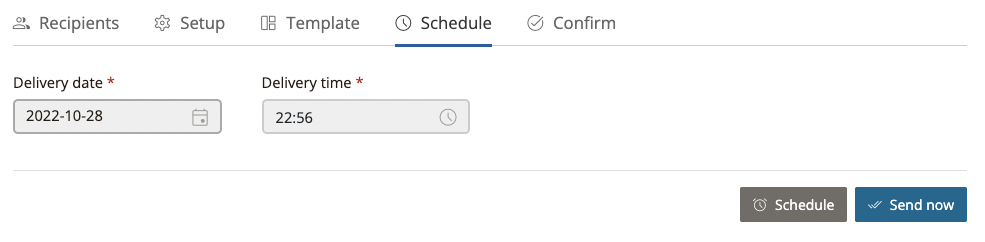
Press either buttons to go the the “Confirm” tab.