You can store additional details about each subscriber by defining the structure of your list and describing what fields should be requested in order to subscribe to the list.
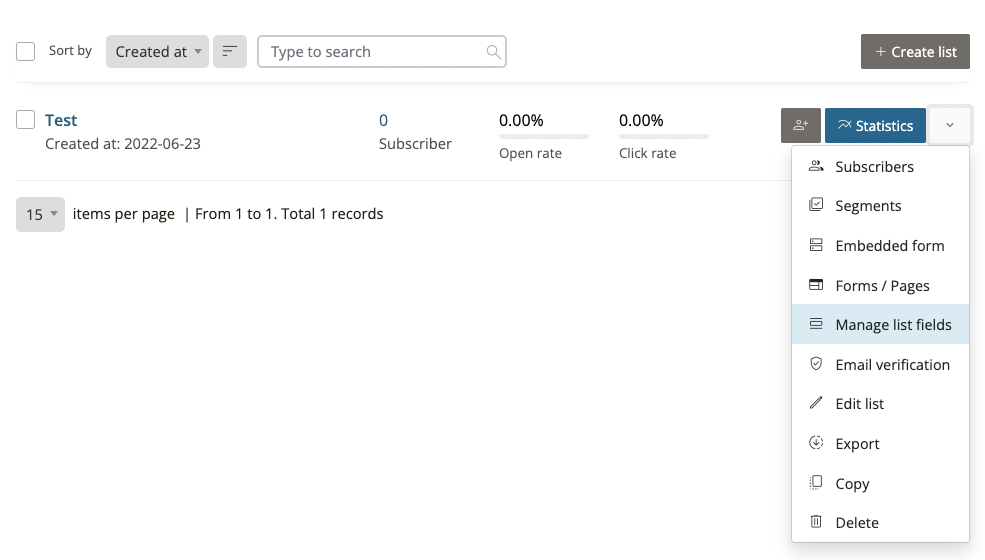
To modify the fields of a list, click the down arrow in the row to see more options, then select “Manage list fields” from drop down menu.
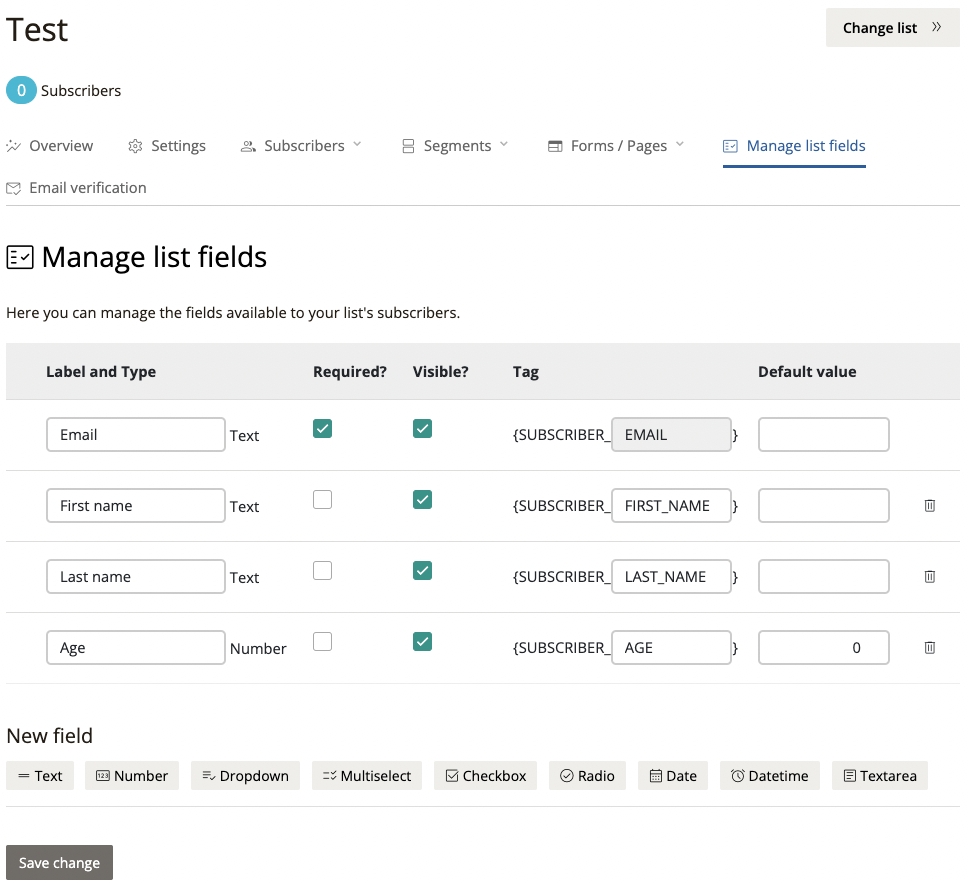
In the “Manage list fields” screen you can add new fields or delete existing ones. The email, first name & last name fields are added to every new list by default.
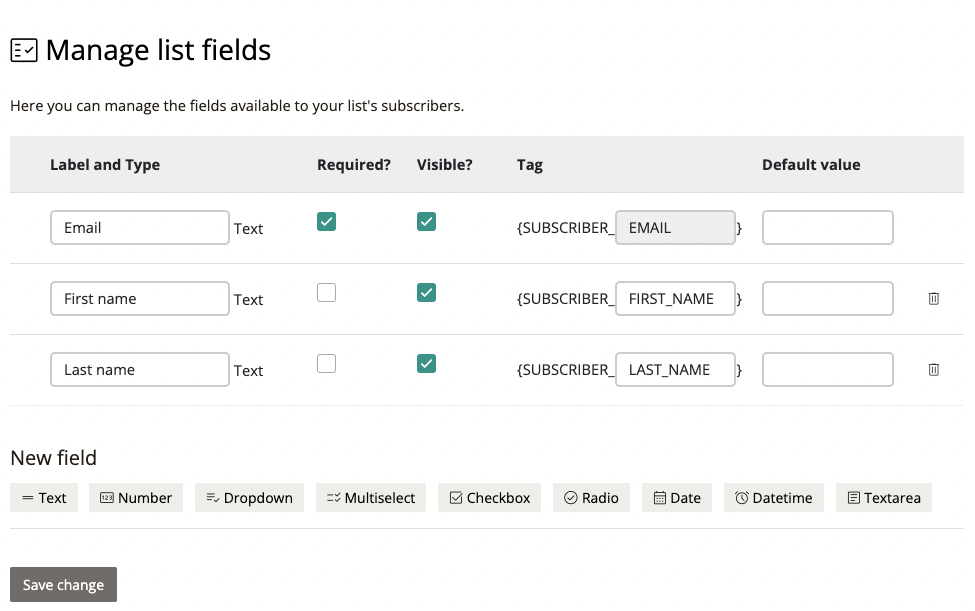
You can delete a field from the list by clicking the “Trash bin” icon on its row or add a new field by clicking the desired field type.
Once a new field is added you’ll need to set the following:
Label: The name of the field that will appear on the opt-in form.
Tag: A short-code that will allow you to display the value of the field in your emails.
Default value: If a field is not required or visible this value will be stored for each new subscriber once they opt-in.
Required?: Determines whether or not this field will be mandatory on the list opt-in form.
Visible?: Determines whether or not the field will be visible on the list opt-in form.
Once you’re done modifying the fields hit save.