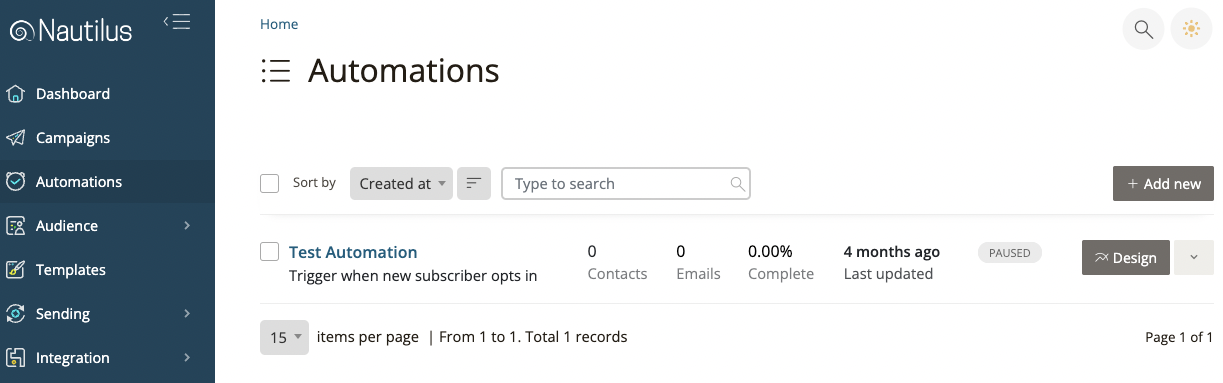
To create a new automation flow choose the “Automations” option on the main menu, Then on the “Automations” screen press the “Add new” button.
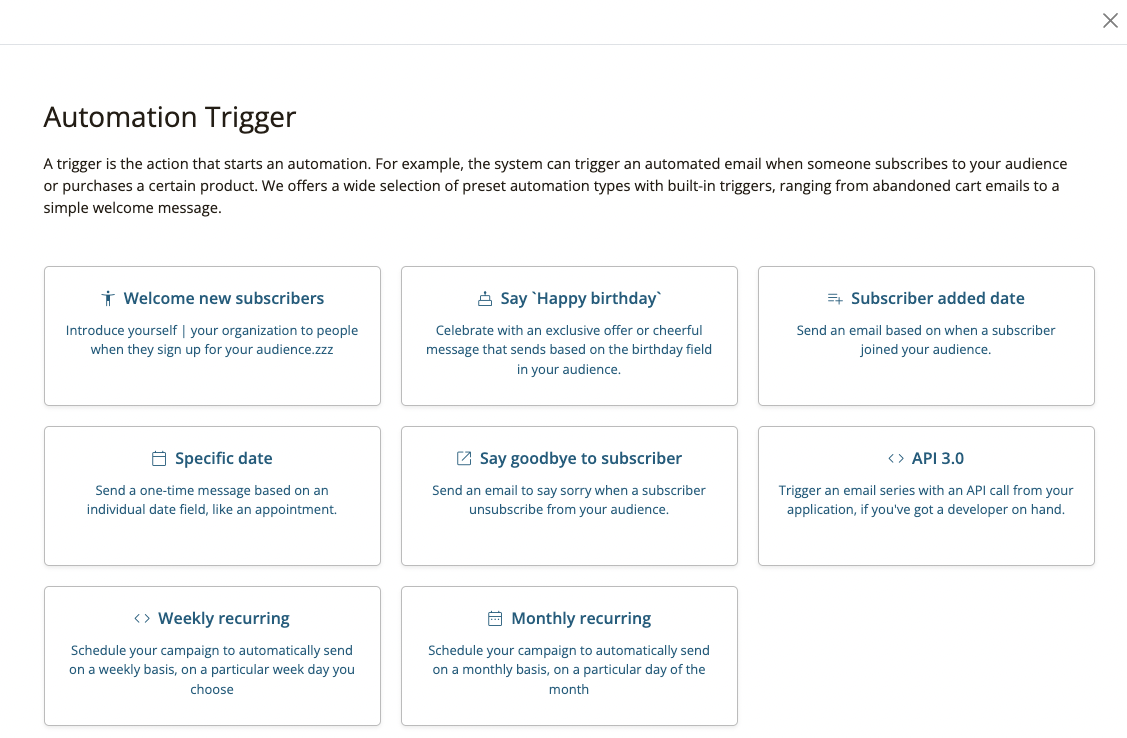
Select “Welcome new subscribers” as the trigger that will start running the automation flow.
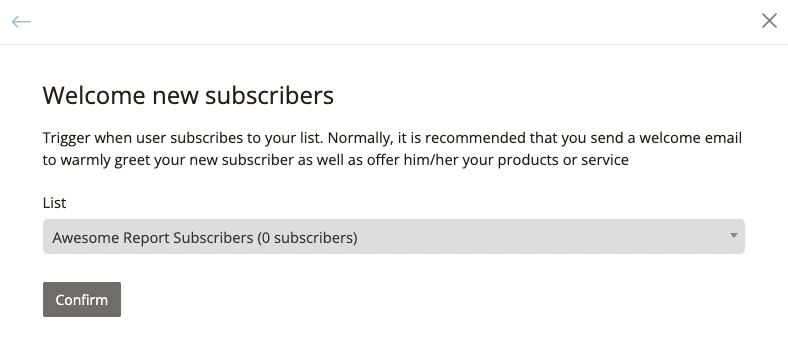
Then you’ll need to choose the list to base this automation on, The trigger you select in the previous step will be checked for every subscriber on the list and it will trigger the automation flow once the event has occurred.
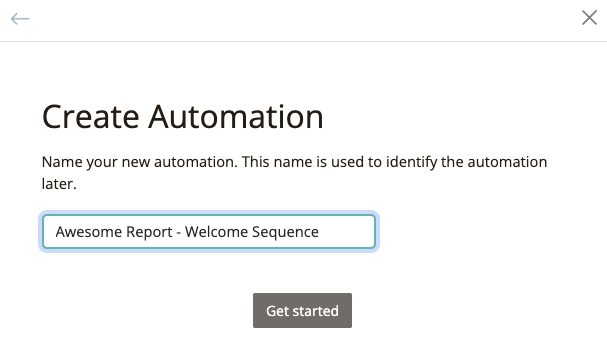
Lastly, give a descriptive name to the automation and press the “Get started” button to launch the automation builder and start building the flow.
The automation flow builder is composed of two main parts. The information pane on the right shows all the different options and stats about the current node selected in the flow graph designer on the left.
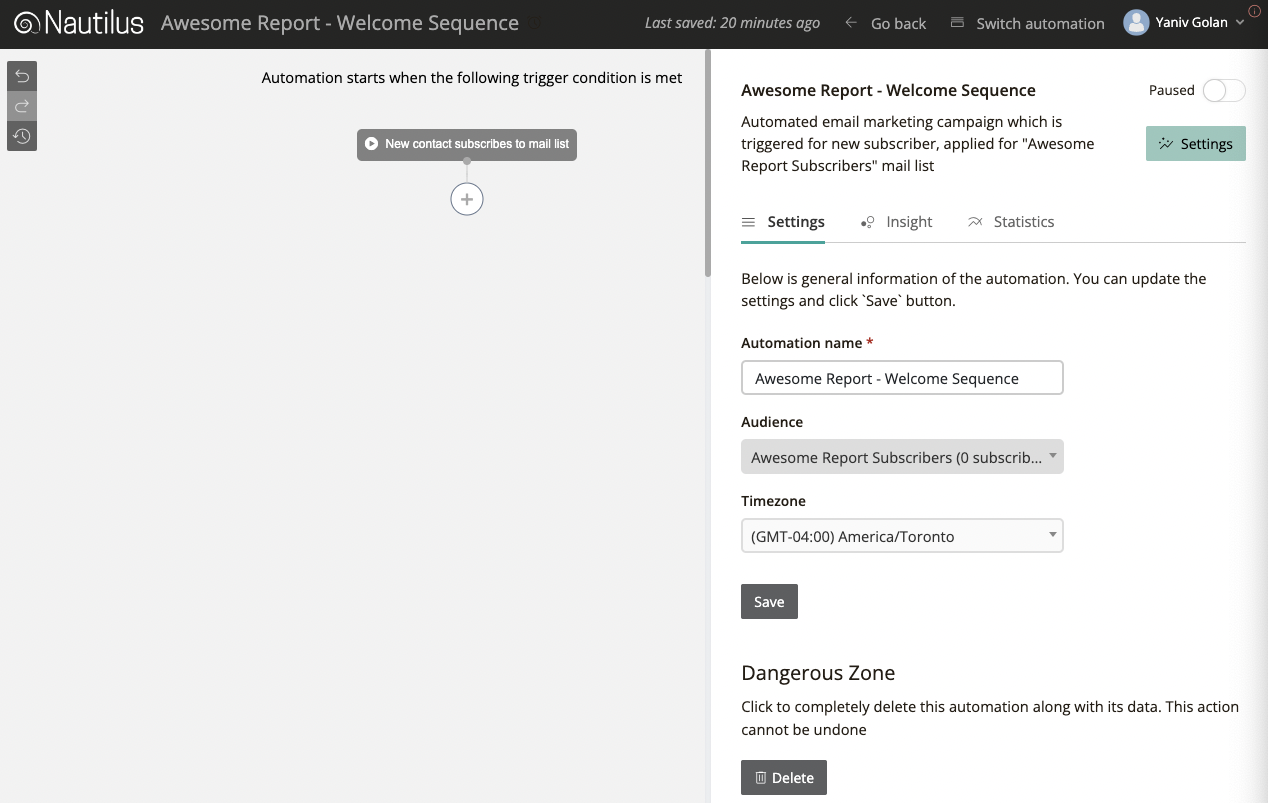
On the automation settings you can rename your automation, change the list it is running on and set the timezone in which this automation flow will operate.
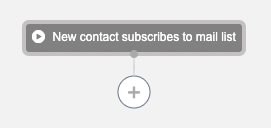
The chosen trigger is the root node of the automation flow, to add the next action node after the flow starts push the “+” button under the “New contact subscribes to mail list” trigger node.
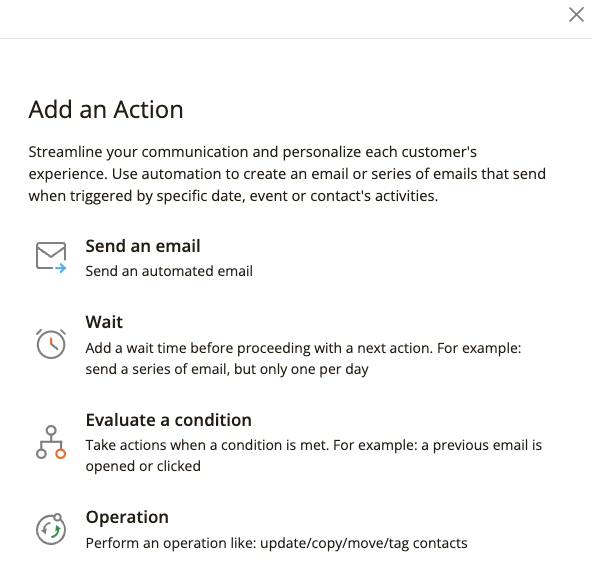
In the “Add an action” popup you can choose different type of actions to build and customize the automation flow. Actions allow you to send emails and perform actions such as tagging ,coping & moving contacts automatically based on events & conditions.
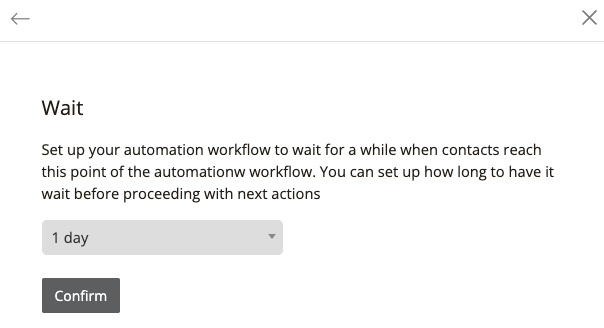
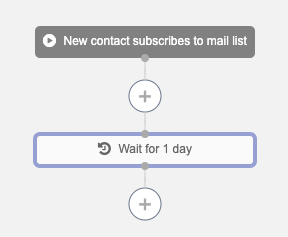
Choose the “Wait” action and set it to “1 day” delay and press the “Confirm” button. This will make the automation wait for 1 day after a new subscriber gets added to the list before we perform the next action.
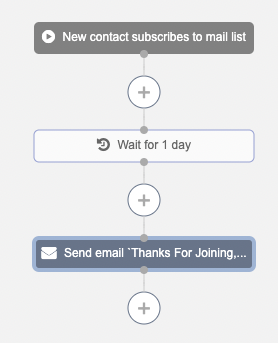
After the “Wait action is added the automation flow look like this:
Add the next action by pressing the “+” button under the “Wait” node, this time choose a “Send an email” action.
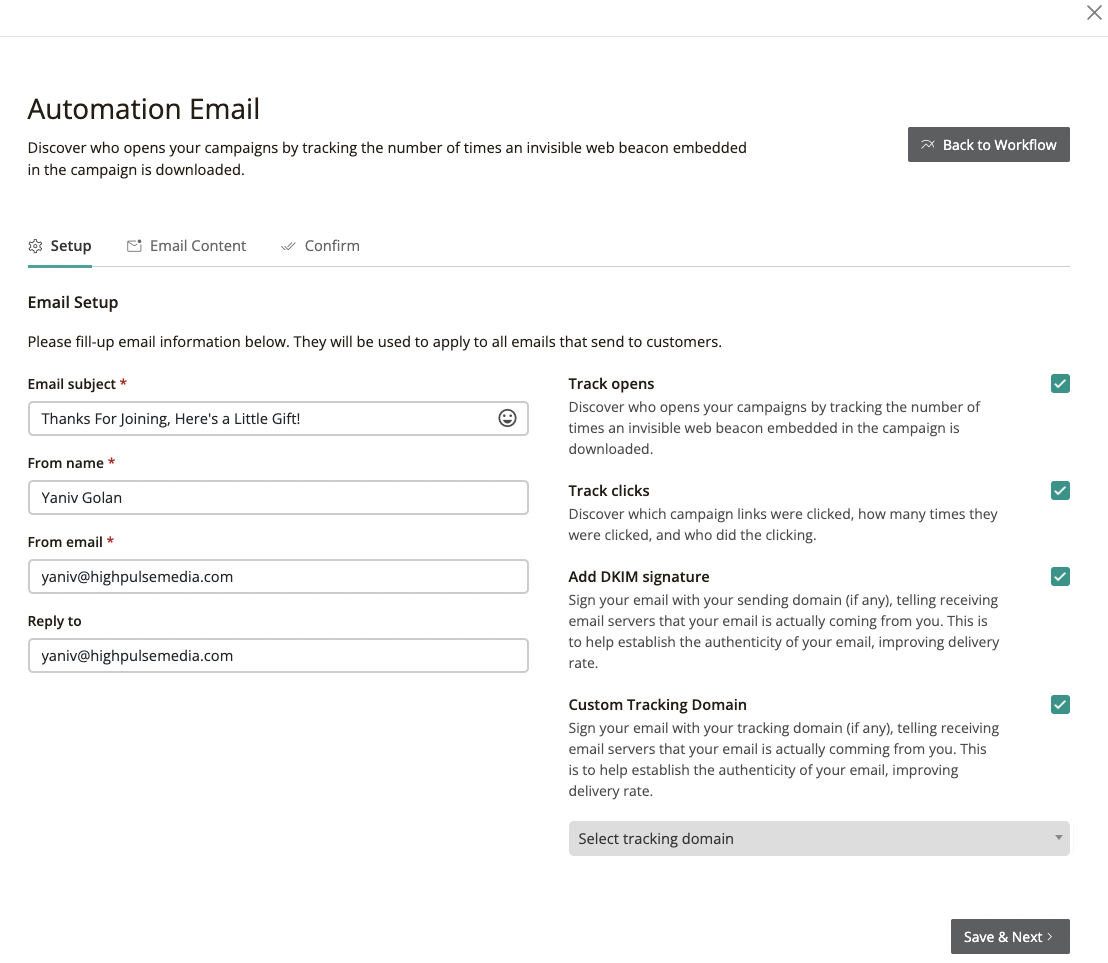
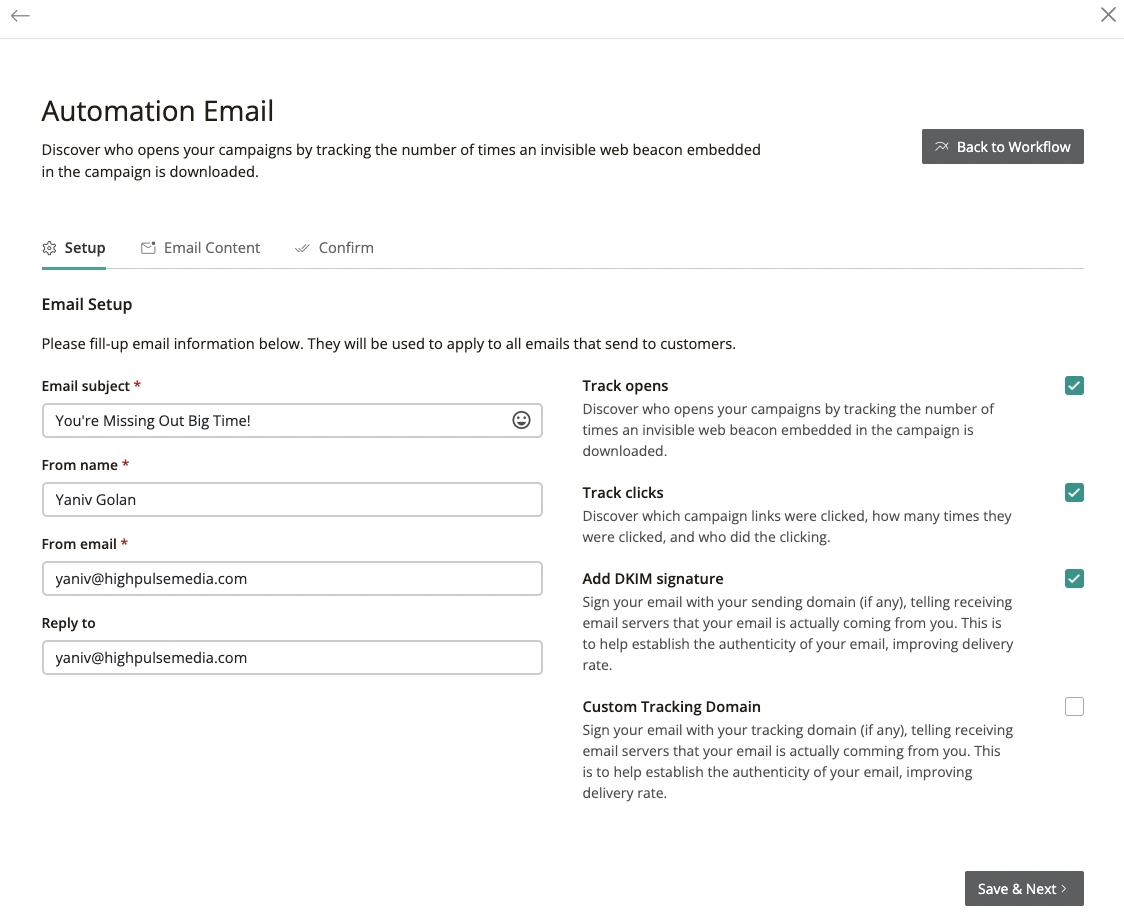
In the “Automation Email” wizard setup the email information then press the “Save & Next” button.
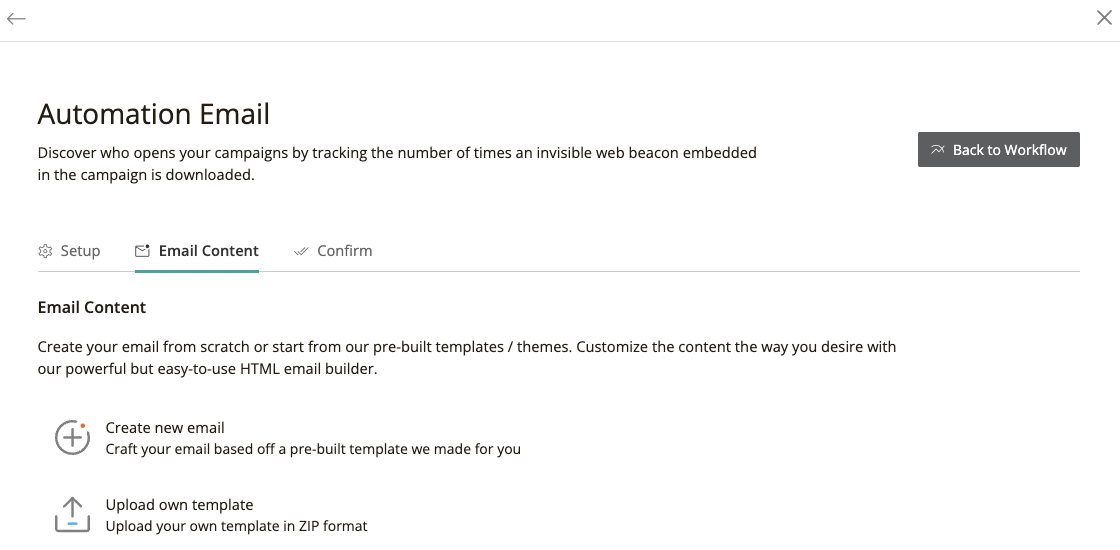
Upload an HTML email template or choose one from our library of pre-built templates, then compose the email to customize the template and write your content.
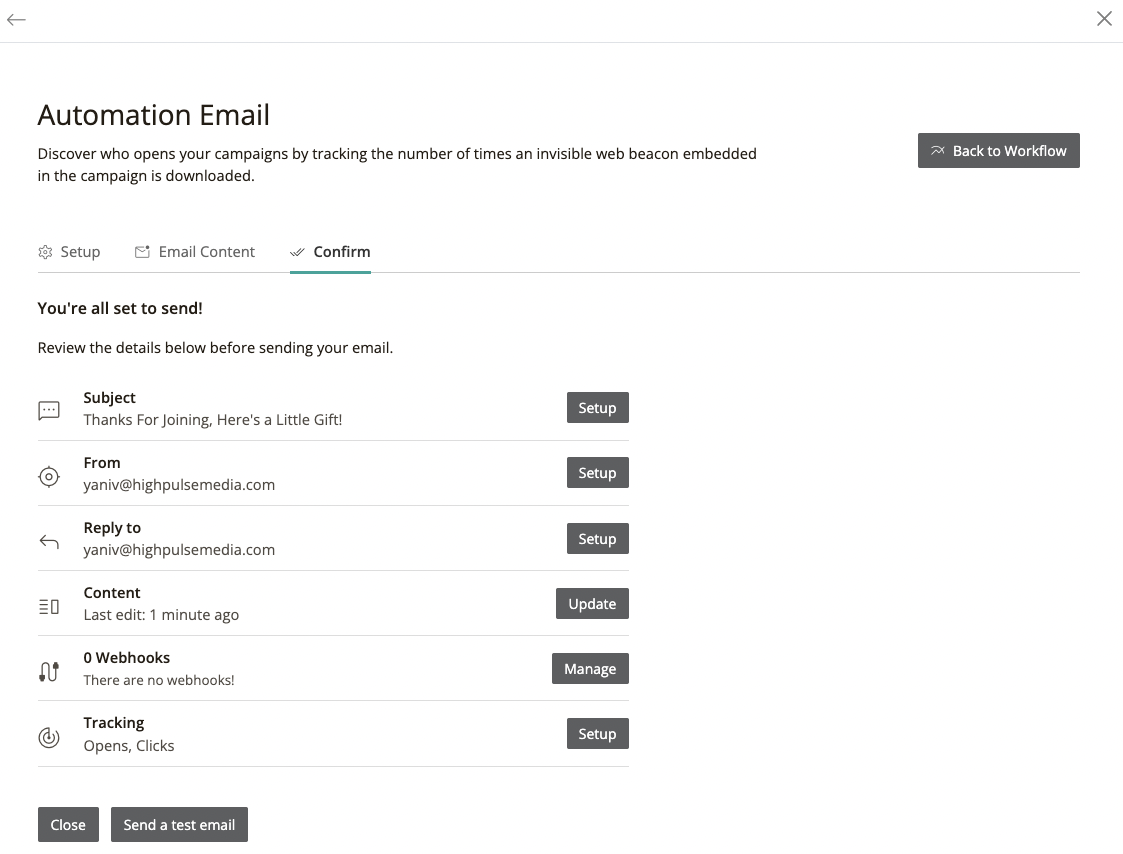
When you’re done editing press the “Next” button to confirm & send a test email to make sure all works as expected, then close the popup.
No the automation flow should look like this:
Add the next action by pressing the “+” button under the “Send email” action node, this time choose an “Evaluate a condition” action.
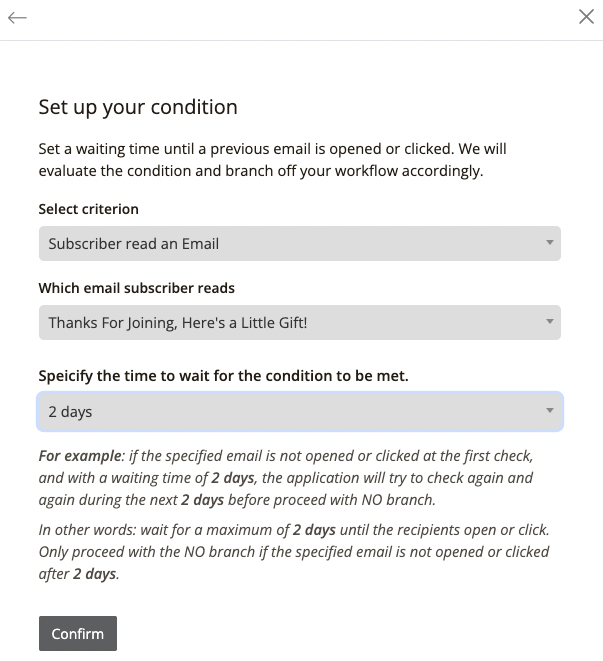
Choose the criterion to check as “Subscriber read an Email” and chose the email you just created in the previous step as “Which email subscriber reads”.
Also set the “wait time” to 2 days and the press the “Confirm” button, this way the condition will be evaluated 2 days after the previous email was sent.
The automation flow now looks like this:
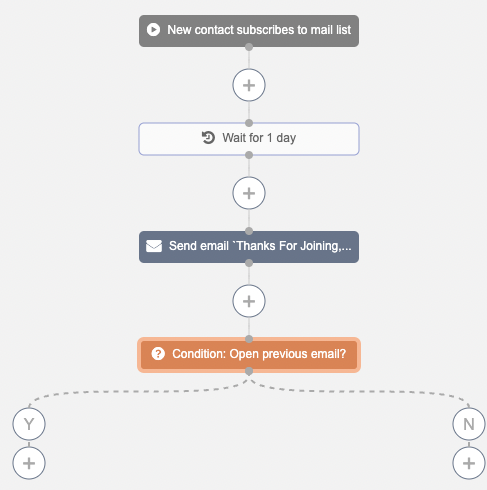
You can now perform different actions based on whether the subscriber read the pervious email sent after 2 days or not.
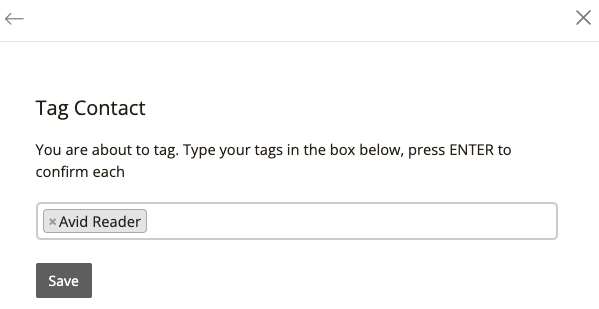
In case the subscriber read email lets tag them as “Avid Reader”, to do that press the “+” button under the Yes (Y) branch of the condition and choose an “Operation” action.
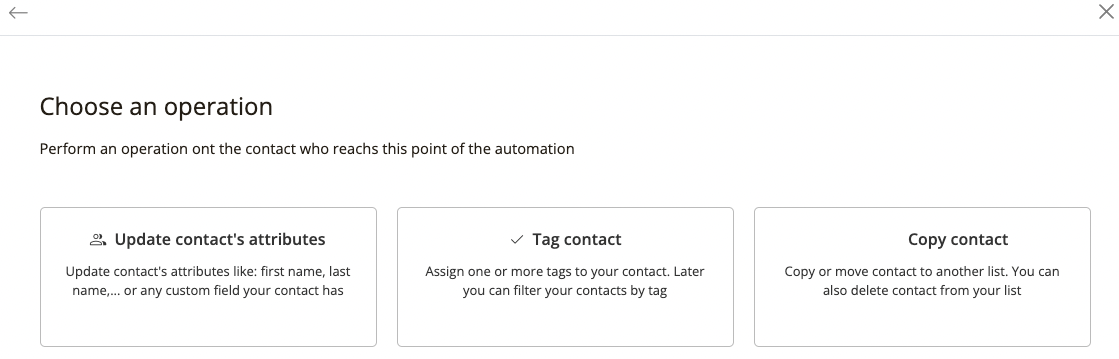
Chose the “Tag contact” operation and enter the “Avid Reader” tag and press the “Save” button.
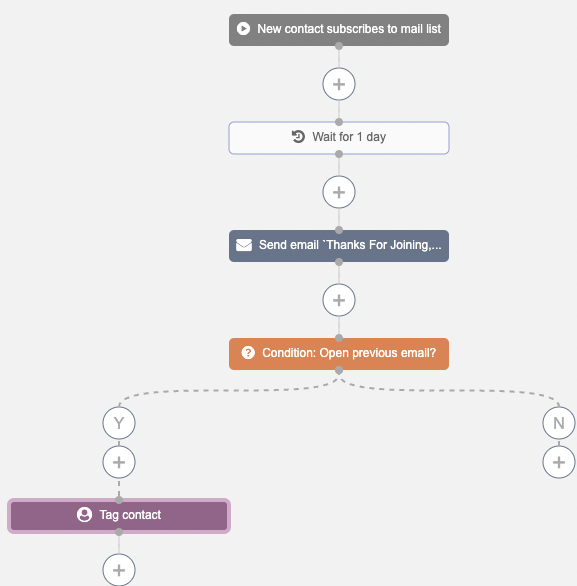
The automation flow should look like this:
In case the subscriber didn’t read our previous email let’s send them a reminder email, press the “+” button under the No (N) branch of the condition and choose a “Send email” action.
Edit the email content, confirm & save it as you did in previous steps.
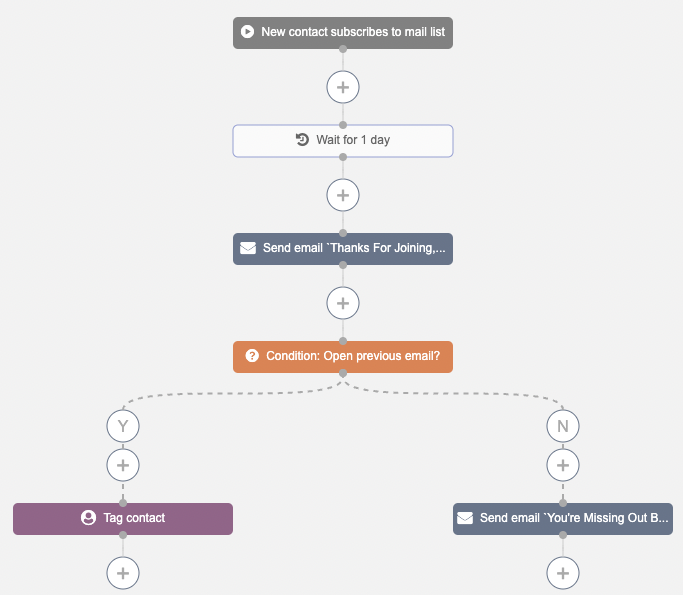
The complete automation flow should look like this:
Now that this simple automation flow is complete, Enable it by switching the “Paused” button on the top-right corner to “Running” mode then go back to the automation settings and press the “Save” button.

You can now exit the builder by pressing the “Go back” button at the top menu.